Customizing Models #
When you make an effort to be as clear and direct as possible, your prompts will typically become longer. After a while you’ll find yourself repeating information. Luckily some of the most popular language models offer tools to help avoid precisely that. In this chapter we’ll show how you can customize ChatGPT and Claude in particular.
ChatGPT #
ChatGPT offers various ways of customizing its output. These range from custom instructions that are automatically added to your prompt, a built-in memory that stores potentially relevant information about you, and custom GPTs that allow you to set up separate GPTs for particular tasks.
Custom Instructions #
Custom Instructions offer the simplest way of customizing ChatGPT’s output. In the browser app, you’ll find them behind the first letters of your name in the corner of the screen, under Customize ChatGPT. In the pop-up that appears, you can tell ChatGPT what ChatGPT should call you — your first name or your highness, say — and what your job is. Next you can tweak the style of its answers by giving it some traits. You can ask it be talkative, witty, poetic, or any characteristic you can think of. You can ask it to “talk like a member of Gen Z” or more like your grandfather, to “take a forward-thinking view”, or to “have a traditional outlook, valuing the past and how things have always been done”. Finally, you can add anything else ChatGPT should know about you — any interests or values you may have.
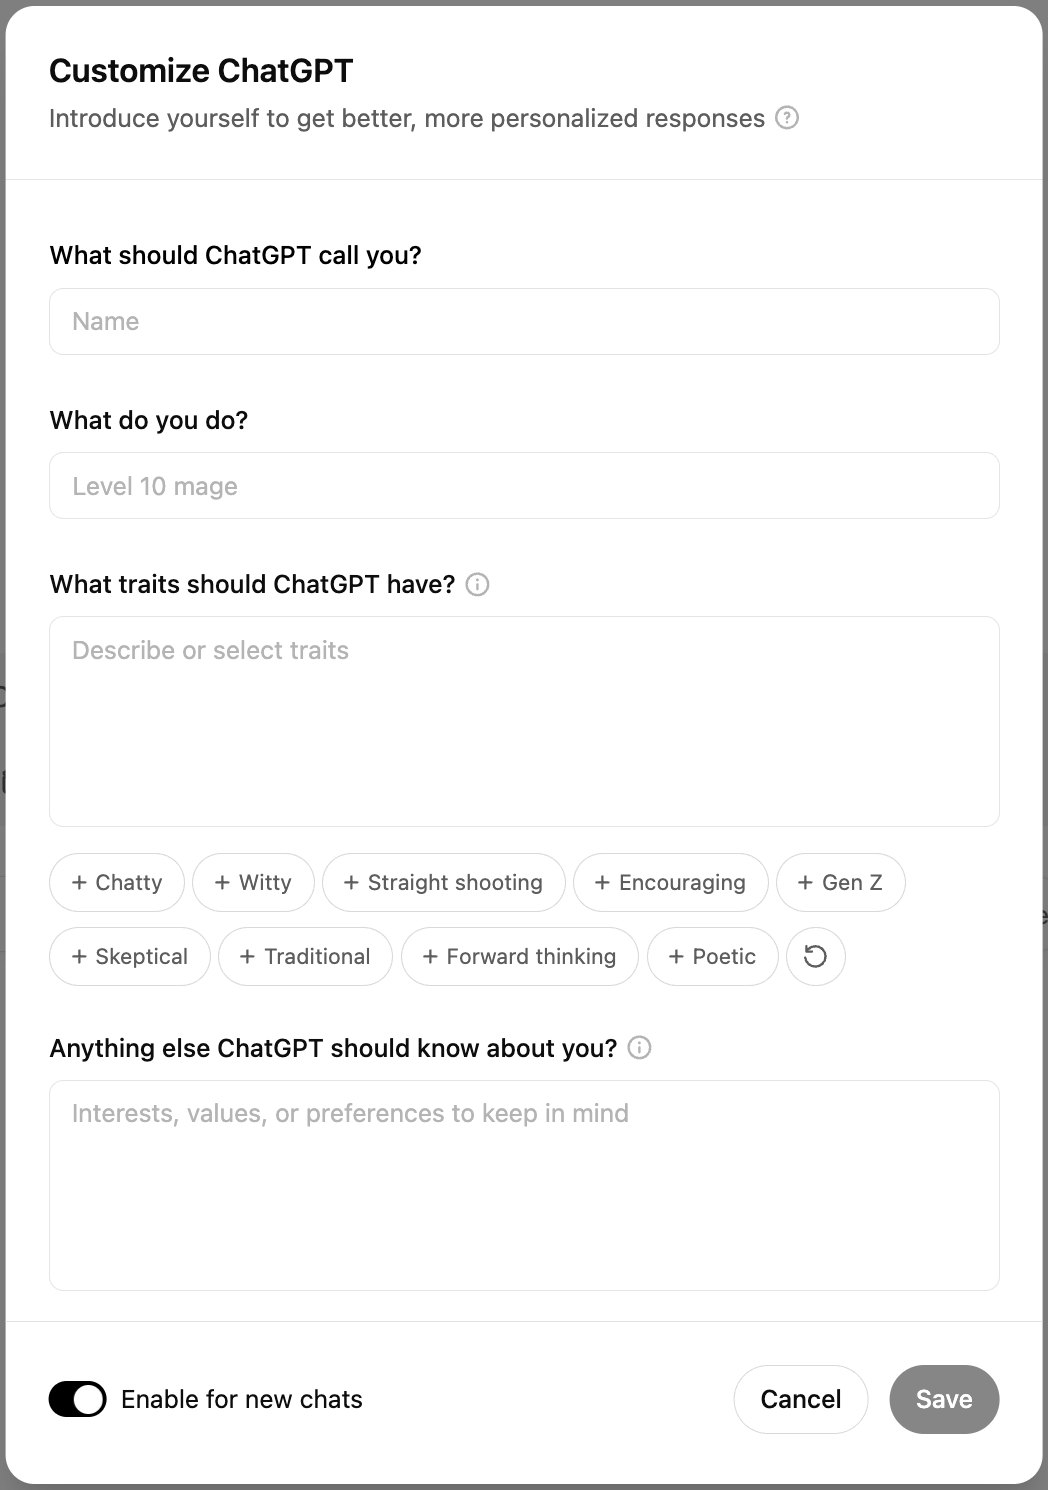
ChatGPT’s Custom Instructions allow you to customize its output.
If you’re often frustrated by ChatGPT’s long-winded answers, this is where you can tell it to answer short and to the point. If you always want to receive answers in a particular language, this is where you can do it. When you’re done, don’t forget to make sure Enable for new chats at the bottom of the window is toggled on, and to start a new chat for the changes to take effect. The custom instructions will then be added to the system prompt of every new chat, so that the underlying LLM can take them into account.
ChatGPT has only one set of custom instructions, so you can only build one personal profile. However, when you create a new project, you can also add instructions that are restricted to that project context. This feature is a bit more basic, since ChatGPT offers just one text field for your instructions, but it serves the same purpose and works in the same way. Additionally, you can also add files for the LLM in your project to access.
Memory #
Another source of personal information is ChatGPT’s memory feature. This too, can be accessed by clicking your name, then Settings and Personalization. In this menu you can toggle two memory settings: the chatbot can Reference saved memories or Reference chat history.
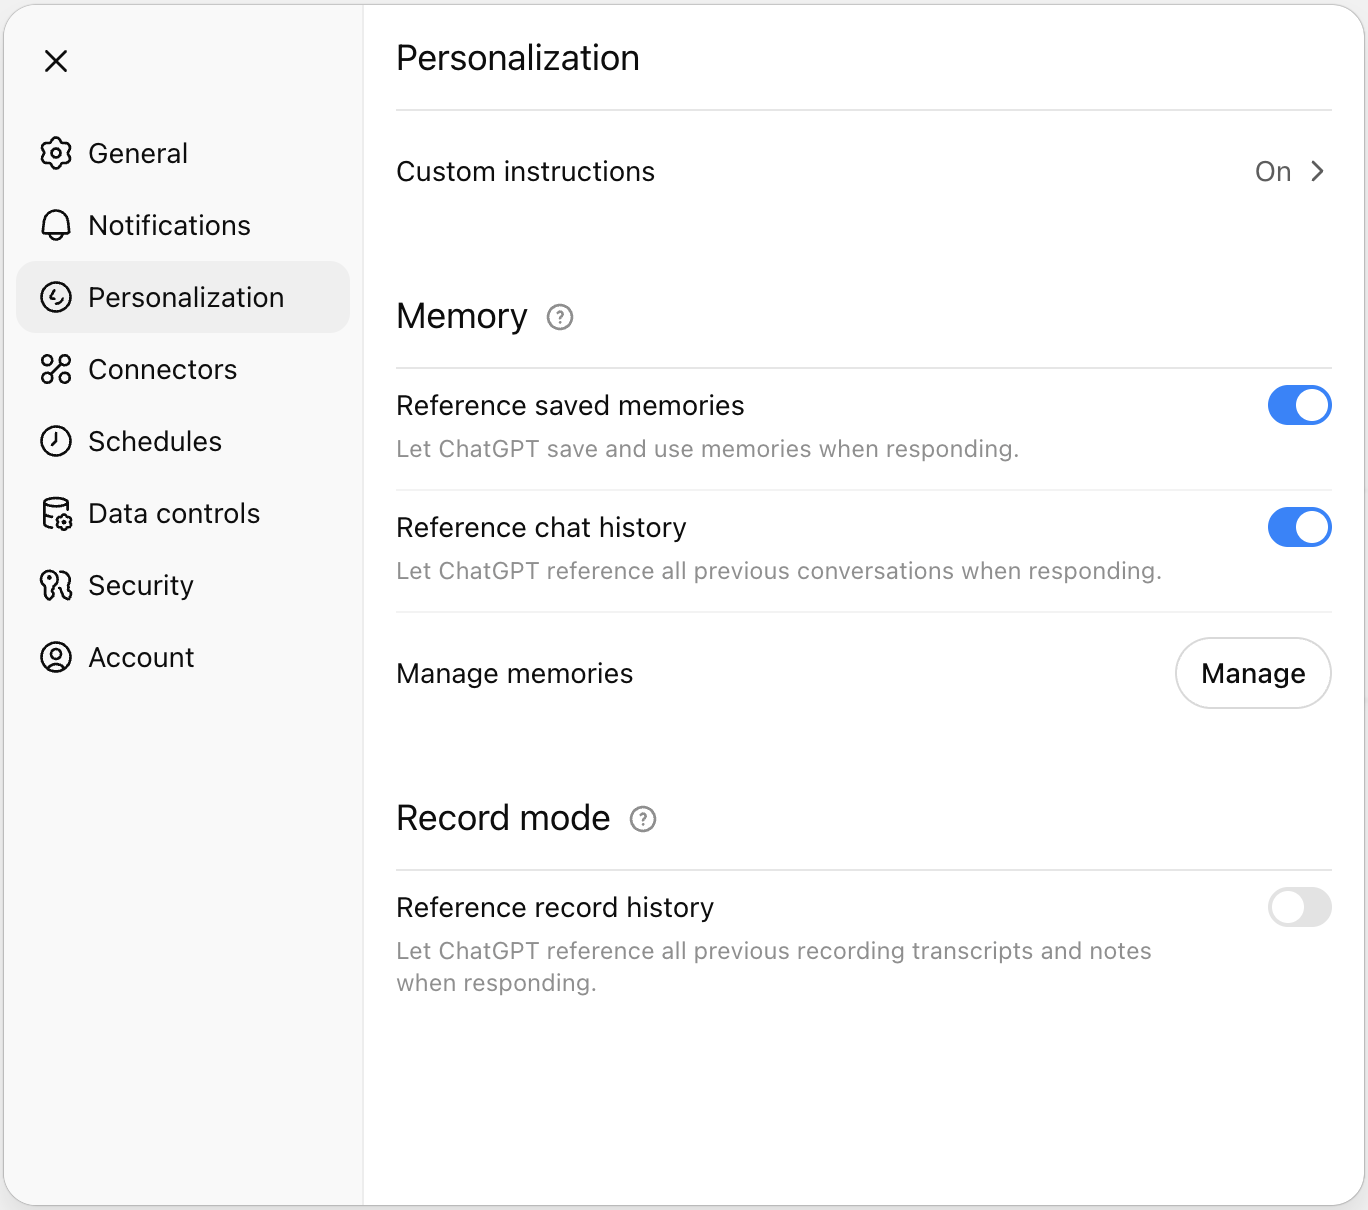
ChatGPT builds a memory that it can reference in later chats.
Saved memories are personal details that ChatGPT stores during your conversations. These can contain your age, occupation and hobbies, preferences and interests, etc. Whenever the chatbot is writing something to its memory, you’ll see the message Updating memory. It can do this without you asking, but you can also trigger this action by explicitly prompting it to remember something: “Remember that I only read books in Dutch.”
A big advantage of saved memories is that you can control them. If you click Manage in the Personalization menu, you can review all memories and delete the ones you don’t want the chatbot to remember. It’s best to go through these memories now and then, as ChatGPT is not very consistent in its choices: some items will indeed contain useful information about you, but others will only be relevant to a task you performed months ago and not be useful anymore.
Chat history is more of a black box. We don’t know a lot about how OpenAI has implemented this feature, but presumably ChatGPT keeps a database of all your previous prompts and responses. Whenever you enter a new prompt, it will search this database for the most relevant past messages and add those to the conversation. In this way the LLM can reference that information to make its new response and useful to you as possible.
Custom GPTs #
The final and most flexible way to customize ChatGPT is by creating a custom GPT. Clicking GPTs in the sidebar will take you to the GPT store, where many organizations and developers offer their own GPTs. These are optimized for particular tasks like image generation, creative writing, academic research, writing a CV, etc. This generally means that they work with a specialized system prompt, have access to custom uploaded files, or use online sources (like for example research databases or weather forecasts) that the standard ChatGPT does not have access to.
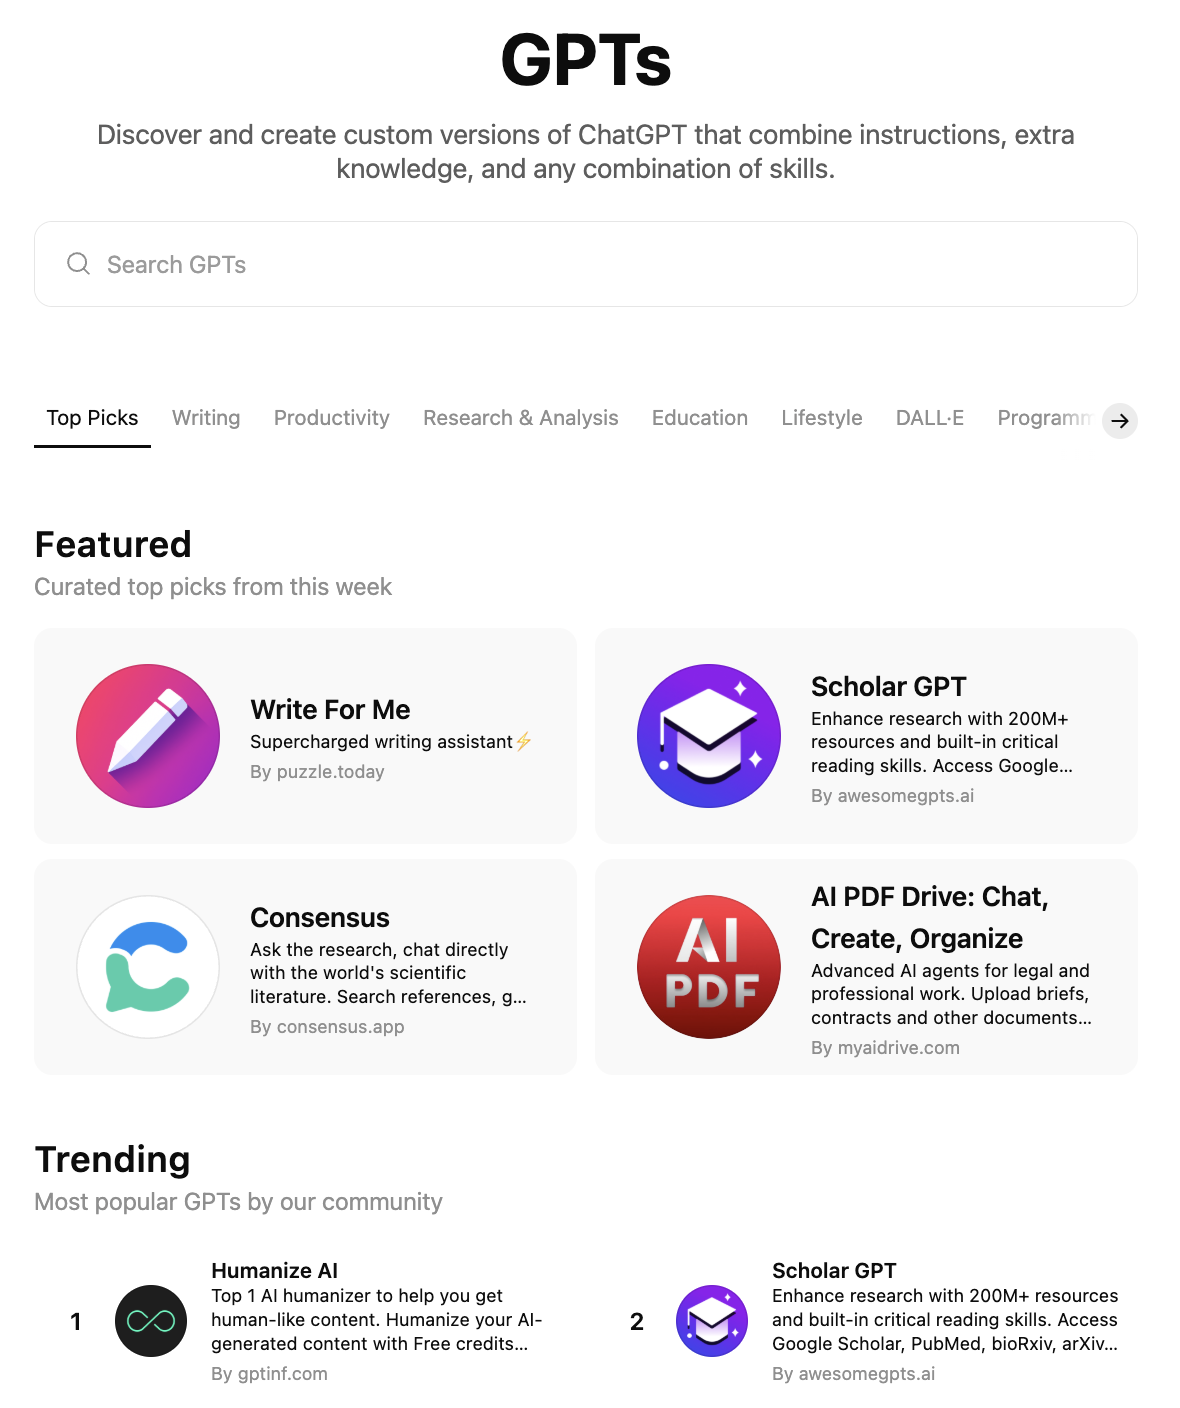
The GPT store has a wide variety of custom GPTs for many different tasks.
You can create your own custom GPT by clicking + Create in the upper right corner of the screen. The software will then take you through a conversation in which you can give your GPT a name, specify the task it should excel at, the conversational tone it should adopt, etc. You can also equip the GPT with tools like web search or image generation, select the LLM it should use (or leave this choice up to the user), tweak its system prompt and upload any files that the LLM should have access to.
When you use ChatGPT in many different contexts, custom GPTs offer the most compelling way to tailor your experience. You can set up a custom GPT for your different professonal projects (each with their own style and relevant documents), your hobbies, etc. Moreover, you can share your GPTs with other users as well. This is an easy way to let people ask questions about a report you compiled, a manual you wrote, and so on.
Claude #
Claude allows you to control its answers with so-called styles. These are similar to ChatGPT’s custom instructions. When you give the model an instruction, you can choose the style it will answer in. There are four standard styles — normal, concise, explanatory and formal — but you can also choose to create your own.
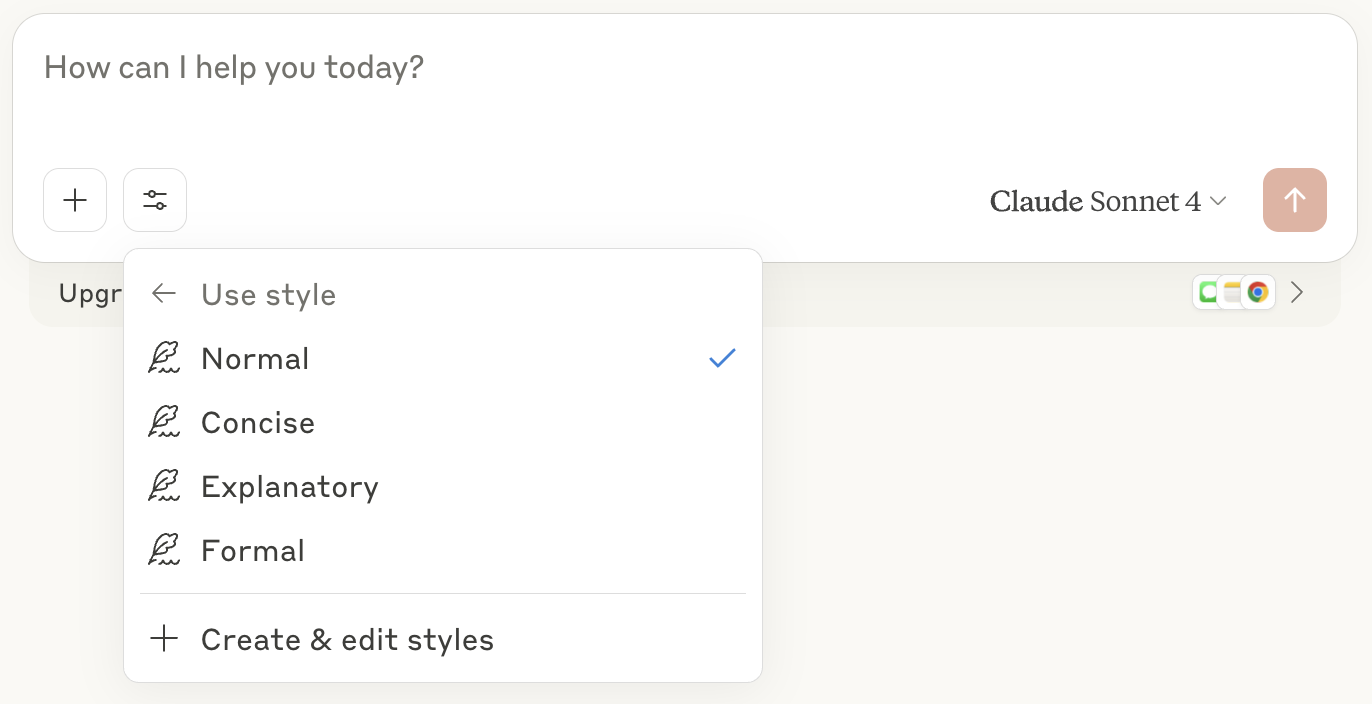
Claude has four standard styles: normal, concise, explanatory and formal.
You can create a custom style by clicking Create and Edit Styles below the list of styles. Claude offers two options: you can either define a new style by uploading a writing example, or you can describe the style. If you click Describe style instead you’ll see a menu reminiscent of ChatGPT’s Custom Instructions. Here you can define the objective of your style, its intended audience, its voice and tone, and other general information. When you finally click Generate Style, you can give your style a name and you can select it whenever you want Claude to use it.
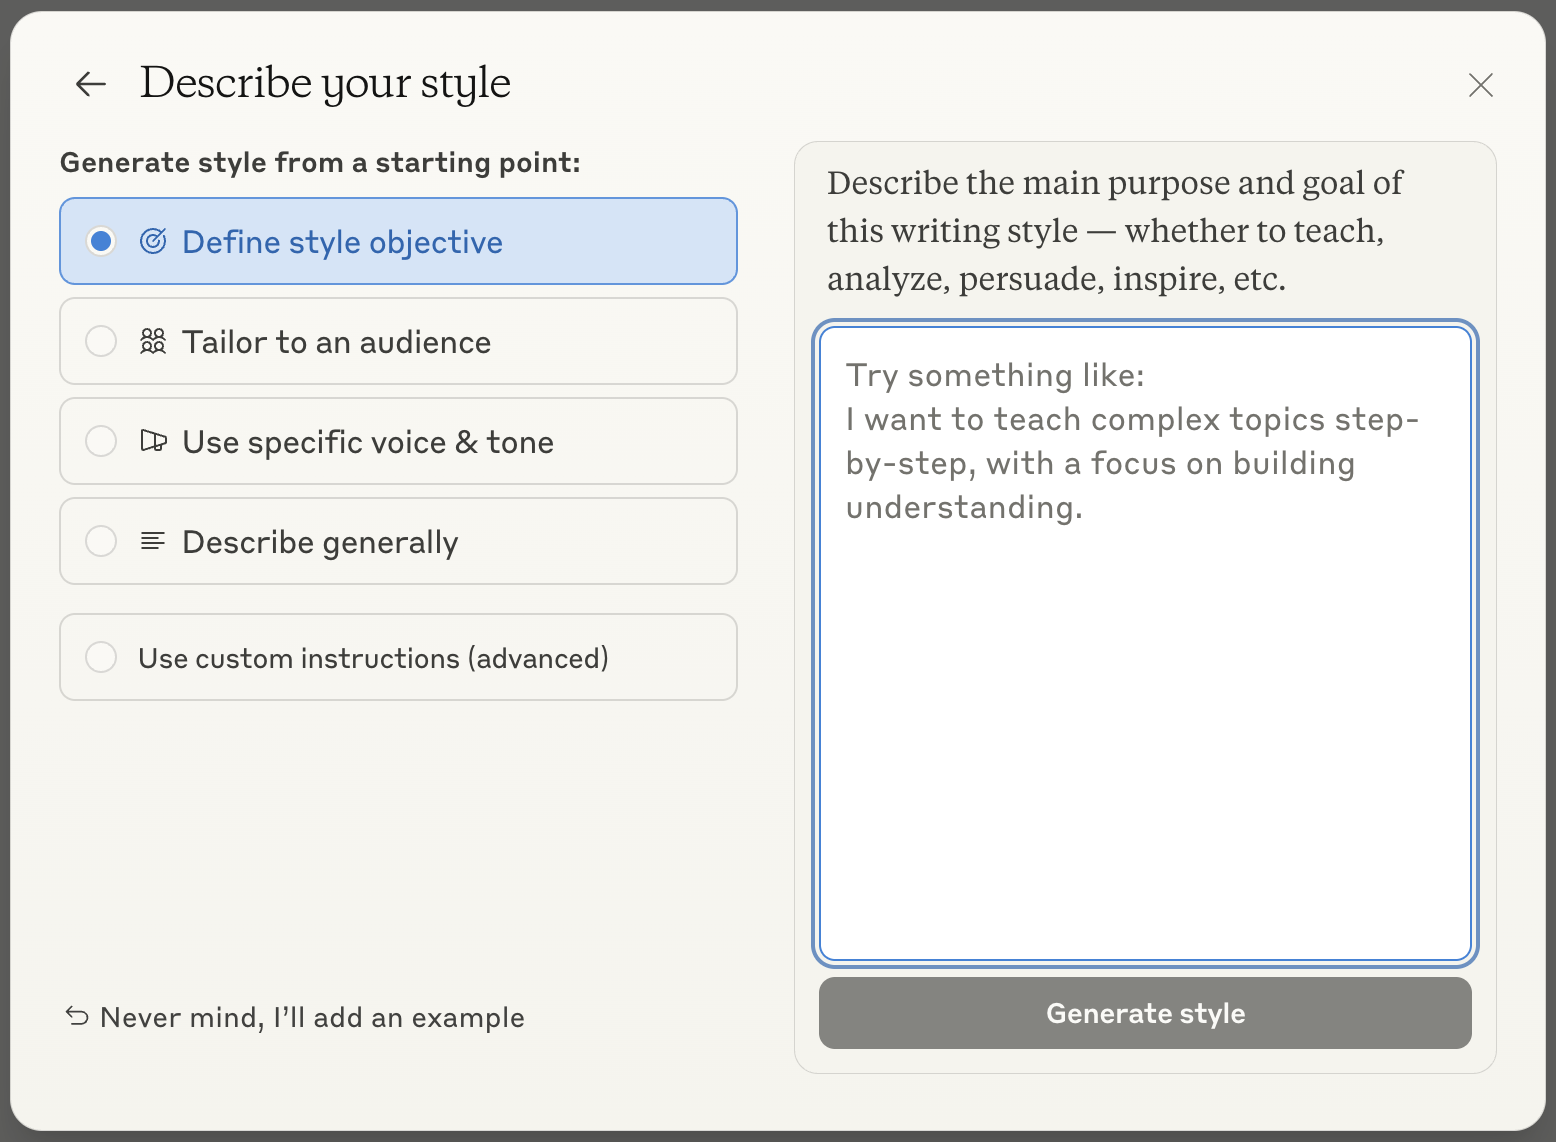
You can create a custom style for Claude by defining its objective, audience, and voice & tone.